# Deploy muyan low code platform to Heroku
Notice: if you would like to deploy to your local machine, please check Deploy to docker
You can either deploy the muyan low code platform to Heroku using the "Deploy to Heroku" button or by cloning the repository and deploying it from your local machine.
# Prerequisites
- A Heroku account. If you don't have one, sign up for free at Heroku (opens new window).
# Use the deploy to heroku button
Navigate to the muyan low code platform Repository
Open your web browser and navigate to github (opens new window) or our homepage on muyan.io (opens new window).
Deploy to Heroku
Click on the "Deploy to Heroku" button. This will redirect you to Heroku's website.
Log in to Heroku
If you're not already logged in, enter your Heroku credentials and log in.
Configure the App
On the "Create New App" page, give your app a unique name and select a region (United States or Europe). Leave the rest of the settings as they are.
Deploy the App
Click on the "Deploy App" button at the bottom of the page. Heroku will now start the process of deploying the app. This process might take around 10 - 20 minutes as it initializes all the seed data.
Check the Status
Once the app is deployed, you will see a "Your app was successfully deployed" message. Click on the "View" button to open your newly deployed app.
Connect to the Frontend
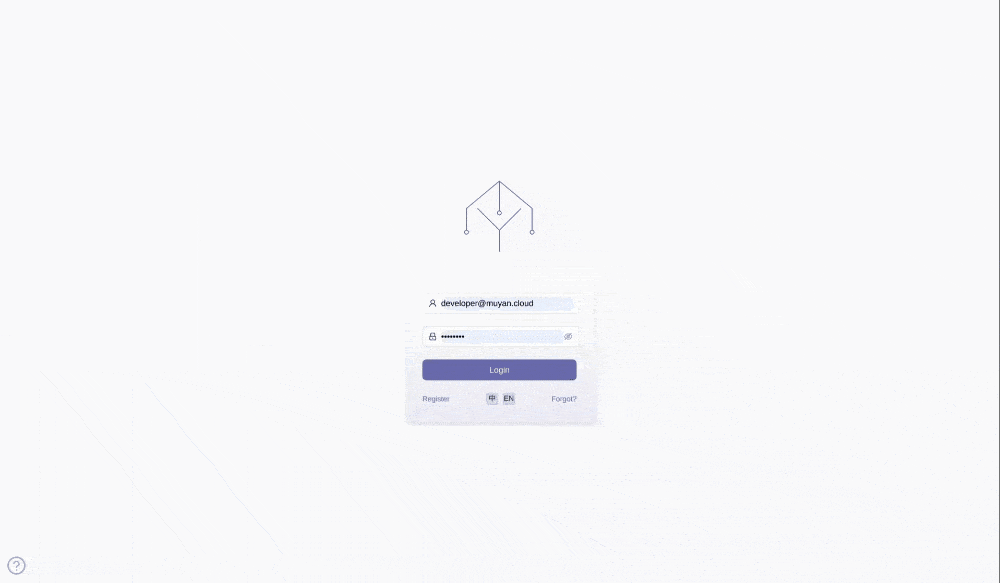
Open a new tab in your browser and navigate to https://muyan.muyan.io (opens new window). This is the frontend of the muyan low code platform.
Set the Backend URL
On the login page, set the backend URL to point to your newly deployed Heroku app. The URL should be in the format
https://<your-app-name>.herokuapp.com.Please refer to Switch backend for how to switch backend.
Congratulations! You have successfully deployed the muyan low code platform to Heroku and connected it to the frontend. You can now start using the platform.
Please refer to Post install steps for post install steps
# Deploy to heroku from local
Before you start, apart from heroku account, make sure you also have the following:
- Git installed on your local machine. If you don't have it, download it from Download Git (opens new window).
- Heroku CLI installed on your local machine. If you don't have it, download it from Install Heroku CLI (opens new window).
# Step 1: Clone the Repository
Clone the muyan low code platform repository from GitHub to your local machine. Open your terminal and run:
git clone https://github.com/muyantech/platform.git
Navigate into the cloned repository:
cd platform
# Step 2: Create a Heroku App
Create a new Heroku app:
heroku create
This will create a new app on Heroku with a random name.
# Step 3: Deploy the App
Deploy the app to Heroku:
git push heroku master
This will push the master branch of your local repository to Heroku and start the deployment process.
# Step 4: Initialize the App
After the deployment is complete, the app will take around 10-20 minutes to initialize all the seed data. You can check the status of the app by running:
heroku logs --tail
# Step 6: Connect to the Frontend
Once the app is ready, you can connect to it using the MuyanTech frontend. Go to https://muyan.muyan.io (opens new window) and set the backend URL on the login page to the URL of your deployed Heroku app. You can get the URL of your app by running:
heroku apps:info
Look for the Web URL in the output.
For instructions on how to switch the backend, please refer to the Switch backend section.
Congratulations! You have successfully deployed the Muyan Tech Platform on Heroku and linked it with the MuyanTech frontend.
For the next steps after installation, please refer to the Post install steps section.
# Post install steps
- Initially, we have set the deployment dyno to the performance-M specification to ensure successful execution of the initial deployment and seed data loading. However , it's worth noting that our platform can operate efficiently under a standard-2x dyno.
To set the dyno size to standard-2x, use heroku ps:type standard-2x. You can
also make this adjustment via the Heroku dashboard UI. After the initial
deployment is complete, remember to change the dyno type back to standard-2x to
avoid unnecessary costs.
- It's also essential to set the Redis max memory policy to avoid exceeding memory limits. Execute the following commands to do this:
export HEROKU_API_KEY=<YOUR_HEROKU_API_KEY>; heroku redis:maxmemory --policy allkeys-lru --app $HEROKU_APP_NAME; heroku redis:timeout --seconds 60 --app $HEROKU_APP_NAME.
This will ensure efficient memory management and optimal platform performance.
TIP
If the system fails to start up within the default Heroku boot timeout of 60 seconds, you can adjust the boot timeout setting for your app on the Heroku boot timeout setting (opens new window) page.
# Switch backend
Refer to the following gif for instructions on how to switch the backend: